Posts Tagged ‘dogs’

Top tips to keep pets safe this winter

If it’s cold for you, it’s cold for your pet – that’s the key message from the British Veterinary Association (BVA)* as it urges pet owners to take extra precautions to ensure dogs, cats and other small pets are kept safe from hidden and potentially fatal hazards as snow flurries and icy conditions are forecast in many parts of the country.


As with humans, pets can fall ill upon exposure to extremely cold temperatures for extended periods. To avoid this, vets advise that dogs are walked for shorter periods of time than usual, but more frequently if required, and to consider putting a coat on old dogs or those with thin fur to keep them warm. Keep older cats inside during an extremely cold spell and ensure that even healthy young cats have easy access to shelter and warmth.

Dogs

When walking your dog in ice and snow, do not let it off the lead and avoid walking in areas where ponds or lakes may have frozen over – animals often don’t understand the difference between solid ground and ice and can fall through. In this situation, vets urge owners to call the emergency services for professional help rather than going in after their pet. Although distressing, it is never worth risking your own life as well as your dog’s. It’s also important to wipe your dog’s paws and belly on returning home from a snowy walk to remove any ice or salt, and to regularly check for cracks in paw-pads or for redness between the toes.

Cats

Cats are especially at risk of poisoning from antifreeze, which can be fatal for them even in small amounts, especially if veterinary treatment is not sought immediately after ingestion. Store and use antifreeze products carefully, clean any spillages thoroughly, and contact your vet immediately if your cat develops symptoms of antifreeze poisoning, such as vomiting, depression, lack of coordination, seizures and difficulty breathing.

Small Pets

Small pets such as rabbits and guinea pigs that usually live outdoors are vulnerable to the cold and damp despite their furry coats. Owners with outdoor hutches and runs should make sure that their pets’ living space is well-protected from snow, frost and winter rain and kept dry. Give rabbits and guinea pigs extra bedding to keep warm and check their water bottle or bowl regularly, as these can freeze when the temperature drops.

Here are some other top tips to keep pets safe this winter:

  • Provide a warm, draught-free shelter: Make sure your pet’s bed is in a draught-free, warm spot off the floor in the house. For outdoor pets, the hutch or run should be in a sheltered position, away from wind, rain and snow at least 10 cm off the ground.
  • Take precautions during and after walks: Dogs need to be exercised; however, during the colder months, try to walk your dog for shorter periods. Wipe your dog’s paws and belly on returning home from a snowy walk to remove any ice or salt, and to regularly check for cracks in paw-pads or for redness between the toes.
  • Avoid antifreeze poisoning: Wiping your pets’ paws can prevent them from ingesting toxins that they may have stood in whilst outside. Antifreeze in particular is highly toxic for cats even in small amounts, with almost one in six vets (17%) reporting treating cats for antifreeze poisoning over the 2018 winter season. Apart from use in car radiators, some cases that vets saw were thought to be from ingesting diluted antifreeze used in ornamental water features to protect the pumps.
  • Temperature control for small pets: Keep the temperature of rabbit and guinea pig homes between 10?C and 20?C for rabbits (the lower temperature assumes rabbits are healthy and kept with other rabbits, with lots of bedding for warmth) and 5?C to 20?C for guinea pigs, avoiding too many fluctuations in temperature.
  • Provide extra bedding for rabbits and guinea pigs: Make sure your rabbits and guinea pigs have extra bedding to keep warm during colder weather – line hutches with plenty of newspaper, provide lots of hay and cover with an old duvet/blanket/tarpaulin. If the weather becomes very severe, consider moving outdoor pets inside to a well-ventilated space with light and room to exercise – but never place them inside a garage in use, as vehicle exhaust fumes are harmful to rabbits and guinea pigs.

If you would like some more advice on how to keep your pet safe this winter, contact your local Goddard vet.

*The BVA is the largest membership community for the veterinary profession in the UK. They represent the views of over 18,000 vets and vet students on animal health and welfare, and veterinary policy issues to government, parliamentarians and key influencers in the UK and EU.

How to Have a Pet-Friendly Christmas

For most humans, Christmas is when we meet up with friends, celebrate with rich food and drink, put up sparkling decorations and have a wonderful time! However, for our pets, it can be really tough. Stress from strangers in the house, a change of routine, unexpected hazards from decorations and tasty foods that prove to have nasty toxic side effects. So, what can we do to make the festive season pet-friendly?


MINIMISE STRESS

“God rest ye merry gentlemen let nothing you dismay…” But all those merry gentlemen certainly can dismay our pets! Almost all of them find the presence of strange people in the house stressful. Dogs may respond to this by aggression, destructive behaviours or hiding; rabbits freeze and try and stay motionless; whereas cats are more likely to start urine spraying, hide or just vanish for the duration. However, even an apparently excited and waggy dog may not be as happy as they seem – while some dogs genuinely do love company, others try and cope with the stress by being extra friendly.

Ideally, you should avoid putting your pet into a stressful situation at all. This means allowing them to have their own quiet space, away from people, minimising the amount of interaction with strangers (so those festive cat and dog costumes probably aren’t a good idea) and, as far as possible, keeping to their normal routine.

However, they aren’t going to be able to avoid the holiday season completely, so you will also have to look at managing their stress. For dogs and cats, the best approach is the use of pheromones – Feliway for cats and Adaptil for dogs. Sadly, there aren’t any products designed specifically for rabbits, but if your pet is really suffering, whatever their species, bring them down to see us and our vets can prescribe anti-anxiety medications that are very effective in the short-term.

AVOID ORNAMENT INJURIES

“Deck the halls with boughs of holly…” And fir trees, glass and plastic ornaments, ribbons, tinsel, lights and candles. All lovely to look at, all potentially dangerous! Cats often like to play with bright shiny things, but they can easily get themselves cut (on a broken glass bauble, for example) or burned by candle flames or hot fairy lights. Cats also love to play pounce with tinsel and ribbons, but if swallowed they can form a “linear foreign body”, cutting into the intestinal walls. find out more about what you can do with advice from Cats Protection

Dogs, on the other hand, are more likely to try eating things – and any ornament can cause an intestinal blockage, or break and cut the mouth or bowel.

Christmas trees are a particular threat, as to cats they are nice climbing frames (potentially resulting in it raining cats as well as needles), while to dogs they are a convenient urinal (which may result in electric shocks in a rather unfortunate location).

The simplest way to avoid injuries is by preventing pets from having any unsupervised contact with ornaments or decorations!

PREVENT POISONING

“So bring us a figgy pudding, so bring us a figgy pudding, so bring us a figgy pudding and bring it out here…” Sadly, so many of our festive favourites can be toxic to our pets. Most people know how dangerous chocolate is for dogs (and the darker the chocolate, the more toxic it is). However, did you know that coffee, peanuts, Macadamia nuts, onions, and even raisins and dried fruit are all poisonous to dogs and cats? So no slices of Christmas pudding, mince pies, festive nuts, sage and onion stuffing for our pets! The Dogs Trust have created a Doggy Christmas Menu – especially designed with dogs in mind!

In addition, cooked bones are highly dangerous as they can splinter in the mouth or gut, leading to sharp wounds and even perforated bowels. So, watch out for left-over turkey carcasses!

Finally, be very careful not to give them too much rich food and treats – dogs and cats do not thrive on rapidly changing diets, and a sudden change can lead to nasty vomiting and diarrhoea. Likewise, rabbits shouldn’t have too many seeds and treats, but make sure they have plenty of good quality hay.


Christmas with pets can be great fun for both of you, but you do have to take certain precautions! If in doubt, contact your local Goddard vet for more advice.

A simple guide to applying ear drops to your dog

Applying ear drops to your dog can be a daunting task for any pet owner. However, with the proper knowledge and technique, administering ear drops to your furry friend can be a simple and stress-free process.

In this guide, our very own vet, Victoria, will walk you through the proper way to apply ear drops to your dog. This includes how to properly clean the ear, the best way to administer the medication, and how to monitor your dog’s recovery. With the right approach and care, you can ensure that your dog receives the treatment they need to maintain its ear health. So, let’s get started!

Before application

In preparation for treating your dog, you should always aim to apply medicated drops to a clean ear. Watch our video above on how to clean your dog’s ears before applying any drops.

It’s important to consider that your dog may be in some pain or discomfort with its ear and might not respond well to you cleaning/treating the area. Even the calmest, gentle, and most passive dog may react with a struggle, bark, growl, or even bite. To avoid this, be cautious and patient with your dog. For particularly reactive or anxious dogs, you may find it useful to apply a muzzle before the procedure for added safety.

How to easily apply ear drops to your dog

  1. Wait 15 minutes after cleaning your dog’s ears before you begin applying the medicated ear drops.
  2. Check the medication label, including the dose and frequency of application. The instruction sheet supplied with the drops will give you advice on how to use that particular ear treatment.
  3. Make sure that your dog is in a comfortable position. If you have a small dog, positioning them on your lap is a good idea. Otherwise, laying them down on a flat surface or sitting them in front of you can make applying ear drops easier.
  4. Prepare the medication according to the instructions that accompany the bottle. You can roll the bottle in your hand to warm up the liquid beforehand so that it’s not as cold before applying it to the ear.
  5. Whilst holding the pointy end of the ear up, you can introduce the nozzle of the bottle/pipette to the ear canal and carefully begin to apply the number of drops stated on the label. Sometimes it can be difficult to know how much pressure to apply to form a drop, so it can be useful to practice on a piece of kitchen roll first if you are unsure.
  6. Once the drops are applied, you can gently massage around the base of the ear in a circular motion. This helps the medication reach the whole of the ear canal. If your dog is in any discomfort, they may not let you do this – be gentle and patient with them.
  7. After applying the drops, your dog will begin head shaking. Don’t worry – this is normal. Now, move on to the next ear, if it also needs treatment, and repeat!

Treating your dog’s ear infection with antibiotics

When treating your dog with antibiotic ear drops, it’s crucial to adhere to the correct dosage instructions provided to you. Avoid breaks in treatment and be sure to attend your follow-up appointments as advised. As long as you follow these guidelines, you should expect to see your furry friend back to their best in no time!

Dogs can be prone to recurrent ear infections. If your dog has had a flare-up and you have not seen a vet recently, please arrange a check-up before treating at home. Never apply old ear drops that you’ve given to your dog previously without a check-up beforehand – you need to make sure you have enough for a full course of treatment recommended by a vet.

If you are having trouble administering the treatment or you notice a head tilt
developing after using medicated drops that don’t seem to be returning to normal, please contact your local Goddard vet practice or get in touch with our Central Clinical team.

Useful tips for applying ear drops to your dog

  • Help get your dog used to ear drops by presenting them with treats and other items like toys with the treatment bottle around. Over time, your dog will begin to associate the treatment with something positive, rather than a negative outcome. You can try this several times a day to acclimate your dog to the ear drops.
  • Make an effort to message your dog’s ears as regularly as possible. This will get the dog used to you touching their ears and the areas around them, making applying treatments like ear drops more ordinary to the dog.
  • Choose a quiet environment within your home to apply the ear drops. Choosing somewhere with no distractions will help to relax your dog, especially if it can get anxious. This can make the application process much easier.

If you need further advice, book an appointment with your local Goddard vet practice, or get in touch with our Central Clinical Team at 020 8506 9944.

How to apply spot-on flea treatments for dogs

Spot-on treatments are frequently used to treat or prevent a range of parasitic infections that may cause irritation or illness in your cat or dog or illness in you and your family. They usually need to be applied on a regular basis and it’s important to understand how to apply them accurately and safely.

Keeping up with your dog’s worm and flea treatment is important if you want to protect them from parasites.

Always check the label before applying it to your pet to make sure it’s the right one for the pet you are treating, and you are using it at the recommended frequency.

Applying the treatment doesn’t have to be complicated. Watch our step-by-step video or follow the steps below.

Top tip: Don’t forget to remove your dog’s collar before you apply the medicine, as it could get in the way of the treatment working properly.

Guide to applying spot-on flea treatment to your dog

Here at the Goddard Vet Group, we strongly advise using a prescribed monthly spot-on treatment for your dog. You should speak to your vet about the right one for your pet, and make sure that you read the label thoroughly before applying it.

  1. Once you are sure you have the right treatment for your dog, simply remove the tube from the packet, and then unscrew the top and use the end of the lid to open the pipette.
  2. Part the hair and then apply the treatment directly to the skin at the back of your pet’s neck, just above their shoulders. This is so that your pet won’t be able to rub or lick it off. There’s no need to rub it in either, as the treatment will naturally disperse across their skin.
  3. If you need to distract your dog whilst you apply the treatment, you could get some pet food paste for them to lick or ask someone to rub and scratch their ears. Making the experience a calm and positive one will make applying the treatment a lot easier for both you and your dog.
  4. Don’t bathe your pet for 4 days after application and do not allow dogs to go swimming as this may affect insects in the water and will also reduce the efficacy of the treatment.

How do spot-on treatments work?

The natural oils on your dog’s skin work to distribute the medicine around their body. The chemical pesticides then sit on the hair follicles and release continuously even after the initial application.

As well as paralysing and killing fleas within 24 hours, the treatment will also prevent new fleas from emerging in your house.

Helpful tips when applying spot-on treatment to your dog

  • For large dogs, you may have to apply to spot on in 3 places along the back – please check the label directions for the product you are using.
  • If any of the treatment transfers onto you, wash it away with soapy water. The solvent in Spot On treatment may stain or damage certain materials including leather, fabrics, plastics, and finished surfaces. Allow the application to dry before permitting contact with such surfaces.
  • Make sure you make a note of when your pet’s next treatment is next due, so you can keep them protected.
  • For further support in applying your dog’s spot-on treatment, you can watch the video above.

How can Goddard Veterinary Group help?

Many of the most effective anti-parasite products are prescription-only medicines, which means they can only be prescribed by a veterinary surgeon and will not be available in pet shops or through online subscriptions, unless under the prescription of a vet. At an annual health examination, normally at the time of vaccination, one of our vets will assess the risks of a range of parasites to your pet based on their lifestyle, and will recommend products and frequency of application, based on this risk assessment.

Additionally, if your dog has had an adverse reaction to the fleas or the treatment, and you need to see a vet, you can find your local practice here.

Helpful resources

If you would like to know more about parasites and how to reduce the risk to our dogs and family please click on the links below:


Frequently asked questions

Does it matter where you put flea treatment on a dog?

Yes, it does. You need to make sure that you apply the treatment to the skin on a part of the body your dog cannot reach. That’s why we advise the skin on the back of the neck. This is so your dog cannot lick it off and ingest it.

Can I use the same spot-on treatment for cats and dogs?

No. A dog spot-on treatment used on a cat can prove fatal for the cat. Additionally, a cat spot-on treatment for a dog will not come in a high enough dosage, as dogs are normally larger than cats. Always make sure you use the correct treatment for the correct species.

How long does it take for spot-on treatment to work?

The spot-on treatment can take up to 24 hours to completely take effect. However, it’s likely that you will start to see results within a few hours.

How often should spot-on treatment be used?

Most flea treatments will become ineffective after one month, so it’s important that you reapply it on a regular basis. Make sure you read the instructions carefully, as they hold specific information regarding the correct dosage and frequency.

Does spot-on treatment protect my dog from ticks?

Not all spot-on treatments protect against ticks. Your vet may recommend a monthly tablet to replace the monthly Spot-on, or a collar for the warmer times of the year when tick numbers are high, please ask your vet for more information on protecting your dog from ticks and the incidence in your local area, or areas you plan to travel to with your pet. To learn more about ticks, or how to remove them the PDSA has a very useful guide.

How to protect your dog from grass seeds

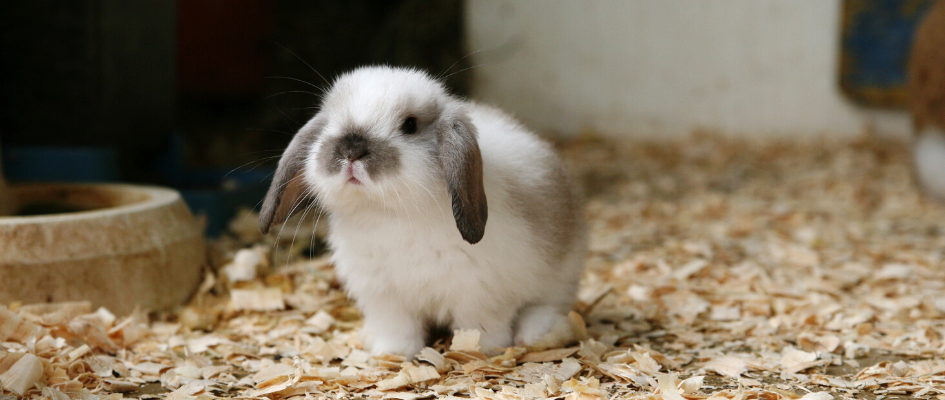
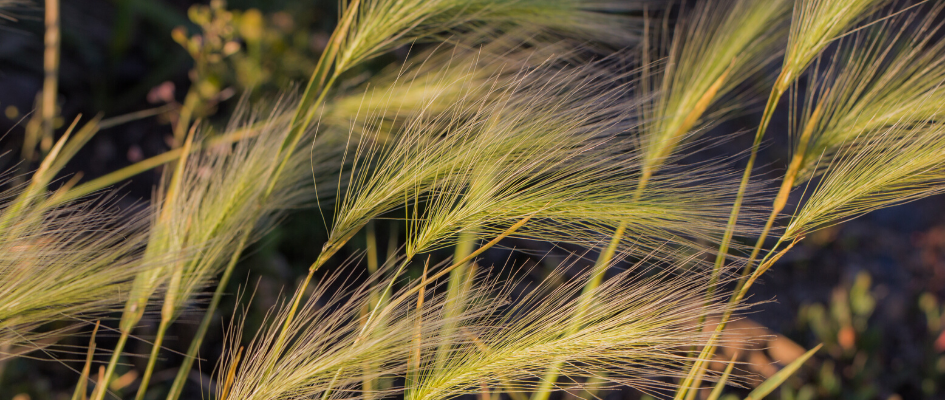
At this time of year grass seeds are a common problem and can pose a real threat to dogs if left unfound or untreated as the seeds can work their way into the skin and become infected or cause lameness. The tops of long grass stems found in gardens or parks can become very dry during the summer months and will easily attach themselves to your dog’s fur as they walk past, without you even noticing. Paws, ears and under the armpit are the most common affected areas, so what can you do to protect your dog from grass seeds?


How do I tell if my dog has an issue with a grass seed?

Your dog may show signs that it is being irritated by a grass seed such as:

  • excessively biting or licking the affected area, especially in between the toes
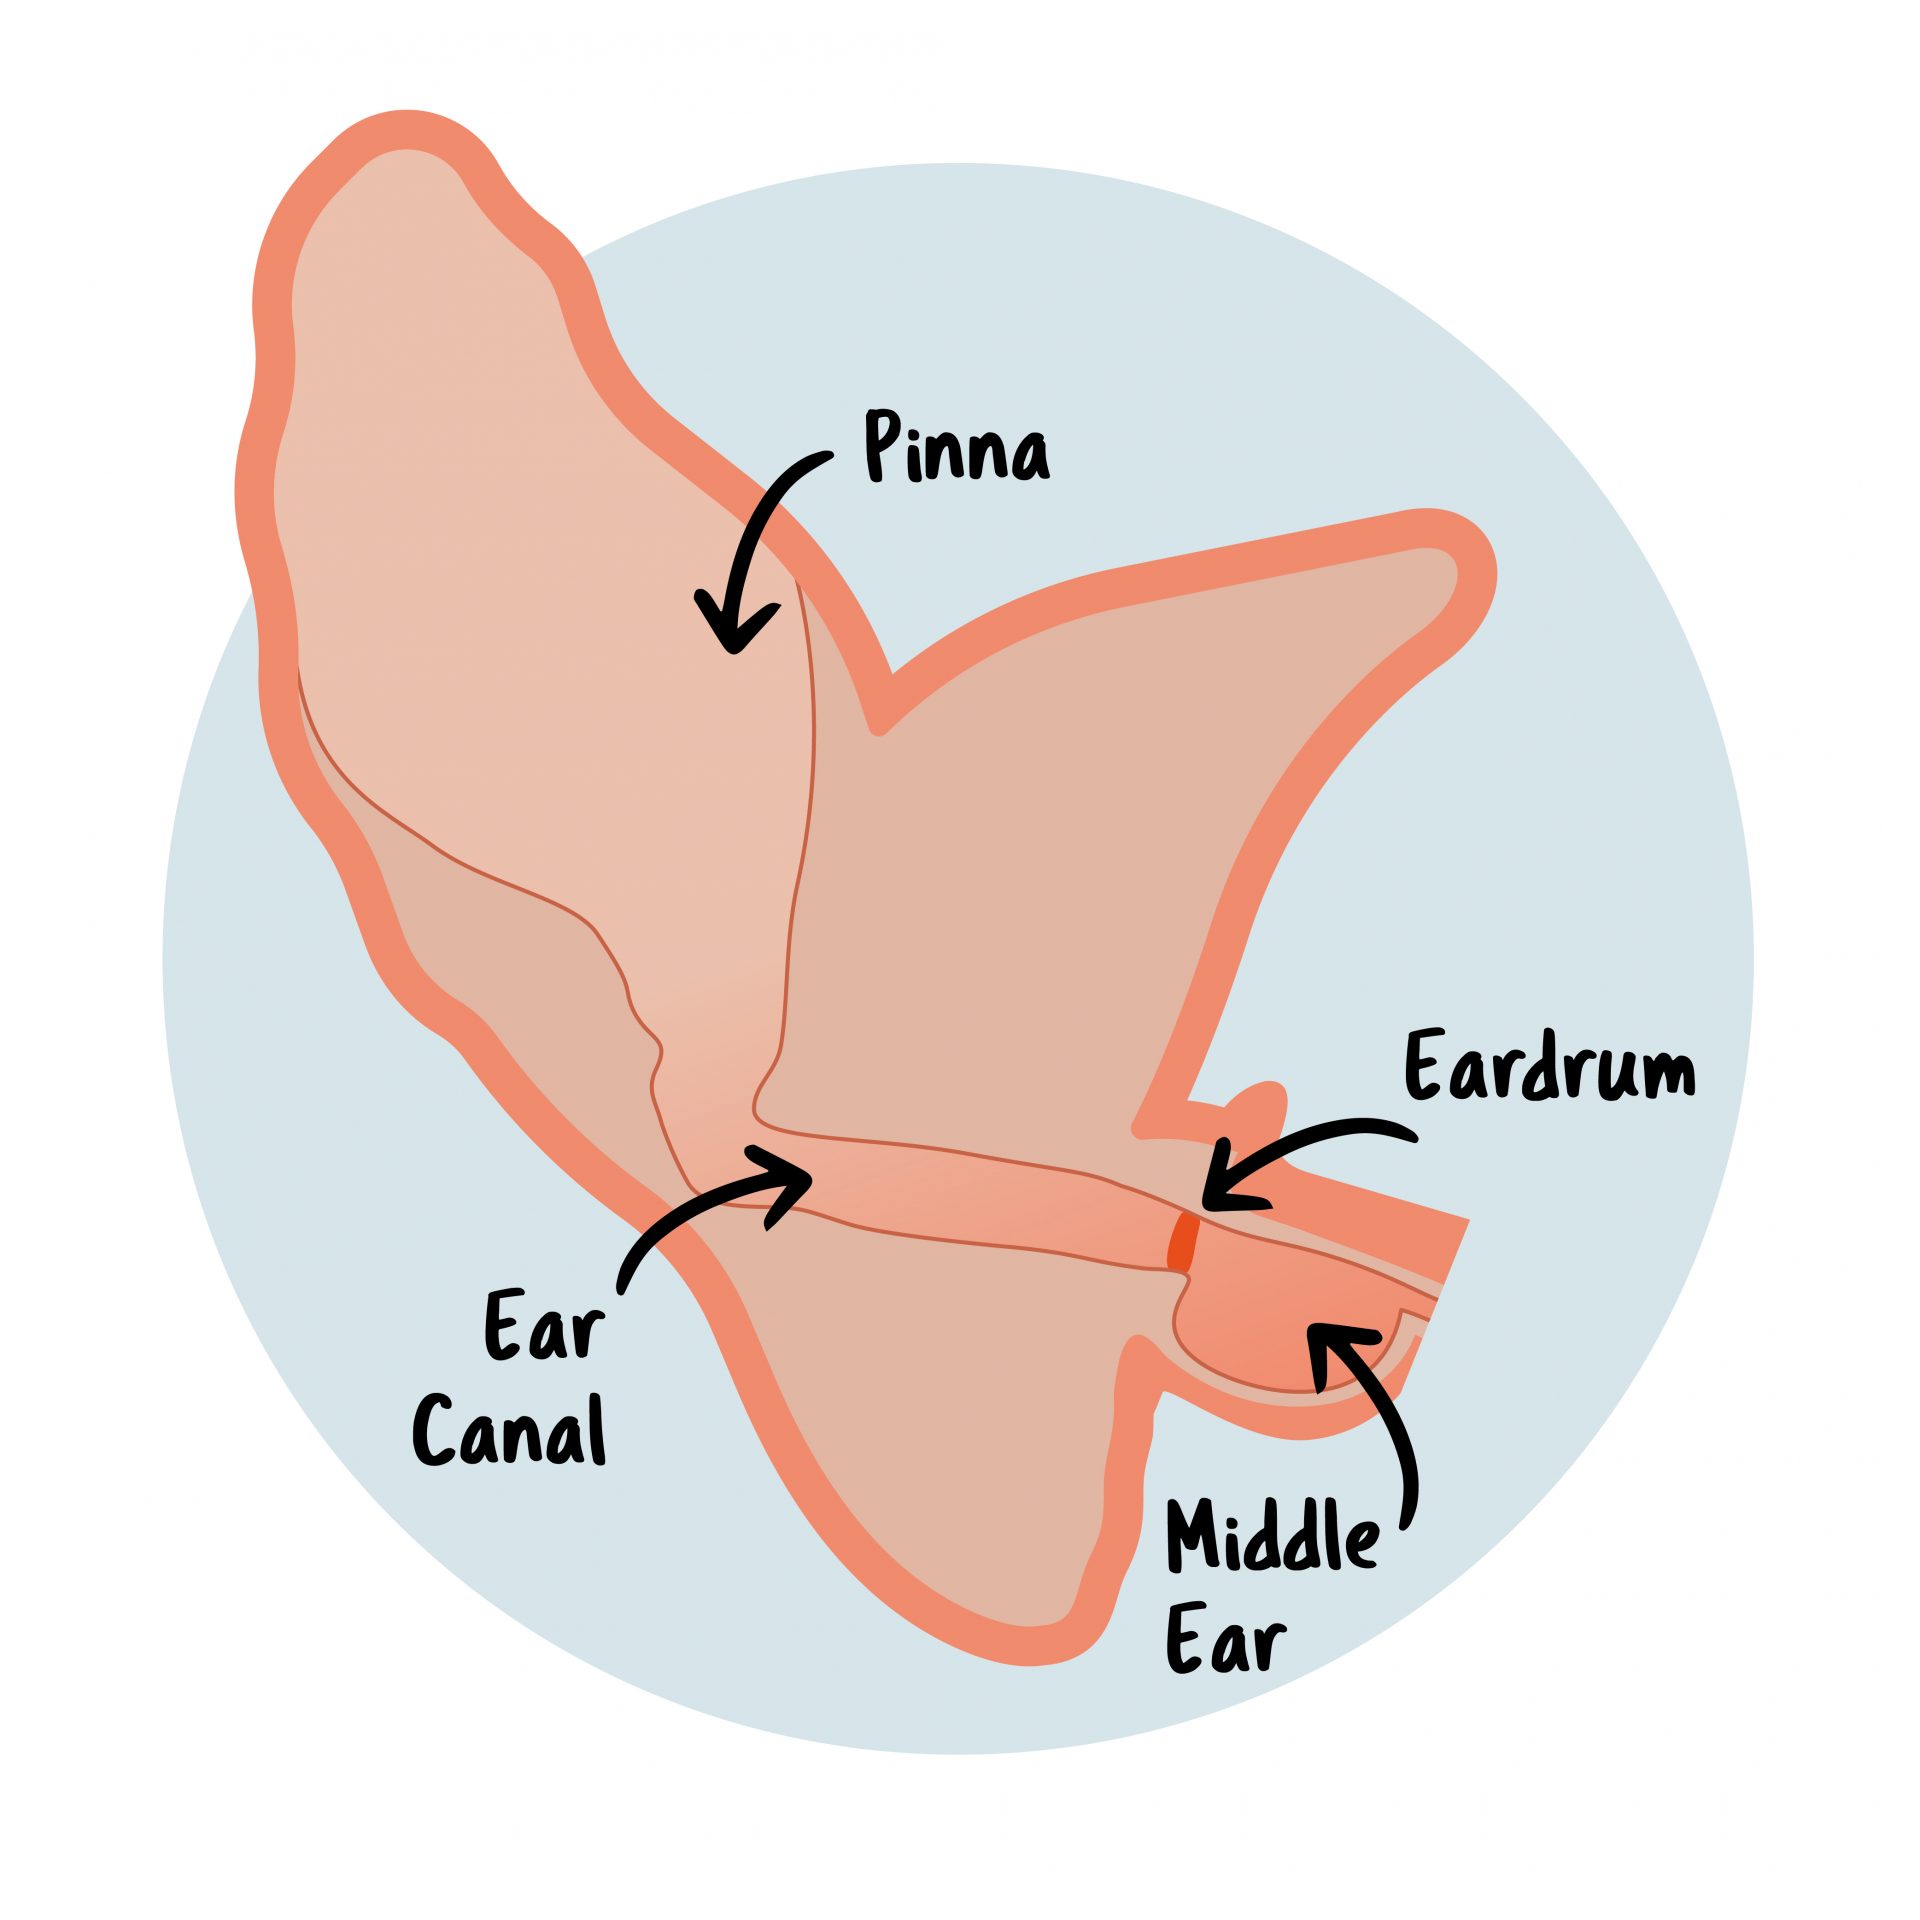
  • shaking their head if there is a grass seed in the ear, or pawing at the head
  • sneezing excessively if there is a seed up the nose
  • a closed, uncomfortable eye

If the grass seed has pierced the skin, you may notice swelling around the affected area.  Occasionally, the only sign of a grass seed infection might be lethargy or loss of appetite if the grass seed has penetrated into the internal body cavities of the chest, throat or abdomen.

Are all dogs affected by grass seeds?

Yes, all dogs can be affected by grass seeds, but especially those breeds that have longer fur and feathered toes. It is best to check your dog over as soon as you get home from your walk to catch any stray seeds that may have attached themselves and dispose of them.

how_to_protect_your_dog_from_grass_seeds_body

What if I cannot remove the grass seed?

A grass seed that is seen on the surface of your dog’s fur is easily removable, but if you notice the grass seed has burrowed its way into the skin or if you think you dog has a grass seed in their eye or ear, contact your local Goddard Veterinary Practice immediately.

How can I protect my dog from grass seeds?

  • Try and avoid letting your dog roam or jump around in long grassy areas
  • Check your dog over with your hand when back at home, paying attention to the feet, the inside of the ears and the armpit
  • Brush out any seeds you may find and dispose of them in a bin
  • Look out for any signs that a grass seed may be irritating your dog
  • Have your dog regularly groomed if the coat is prone to matting, or has a long coat.

Long grassy areas are also a haven for ticks and fleas, so be sure to keep your preventative treatment up to date and dog protected.

I need more advice, what should I do?

Call and speak to one of the team for advice or book an appointment. We’re here to help.