Cats are great at grooming themselves, generally keeping clean and tidy without any assistance. However, sometimes they need a helping paw with cleaning their ears. Whilst ears are self-cleaning, inflammation, infection, or polyps can create discharge and extra nasty gunk that needs to be removed.
Cleaning your cat’s ears can be a little tricky compared to grooming your canine companions. Cats can be very sensitive in the area around their ears, and don’t always appreciate your best efforts to help them clean!
But don’t worry, we know you have their best interests at heart. In this guide, experts from Goddard Vet Group will give you the best advice to help you with the ear-cleaning process.
Preparation
If you think your cat’s ears need cleaning, it’s important to check with a vet before attempting any home remedies. Itching, scratching, and a build-up of wax can all be indicators that they need a clean, however, these are also symptoms of other issues such as infection, fleas, mites, and more. These will all need to be treated properly with the appropriate medication.
What you’ll need…
- Ear cleaning solution – it’s very important that you use ear cleaning products specifically made for cats. Using something wrong here could cause permanent damage to your cat’s hearing and balance.
- Cotton wool balls/pads – to help clean, wipe, and dry your cat’s ears. Just don’t use Q-tips!
- A towel/blanket – wrapping your cat in a towel or blanket can help to both hold them in position and keep them comfortable.
- Assistance – not all cats will be very accepting of your help! Sometimes it can be beneficial to have an extra pair of hands to support you.
- Lots and lots of treats – rewarding your cat with treats throughout the process can help acclimate them to cleaning and treatments, creating a positive association
How to clean cat ears: step-by-step guide
- Make sure your cat is positioned comfortably either in your lap or on a flat surface facing away from you. Wrapping them in a blanket or towel can help to stop them from wriggling around. Have treats available nearby!
- Roll the cleaning solution bottle in your hand to warm up the liquid so it’s not as cold before applying it into the ear.
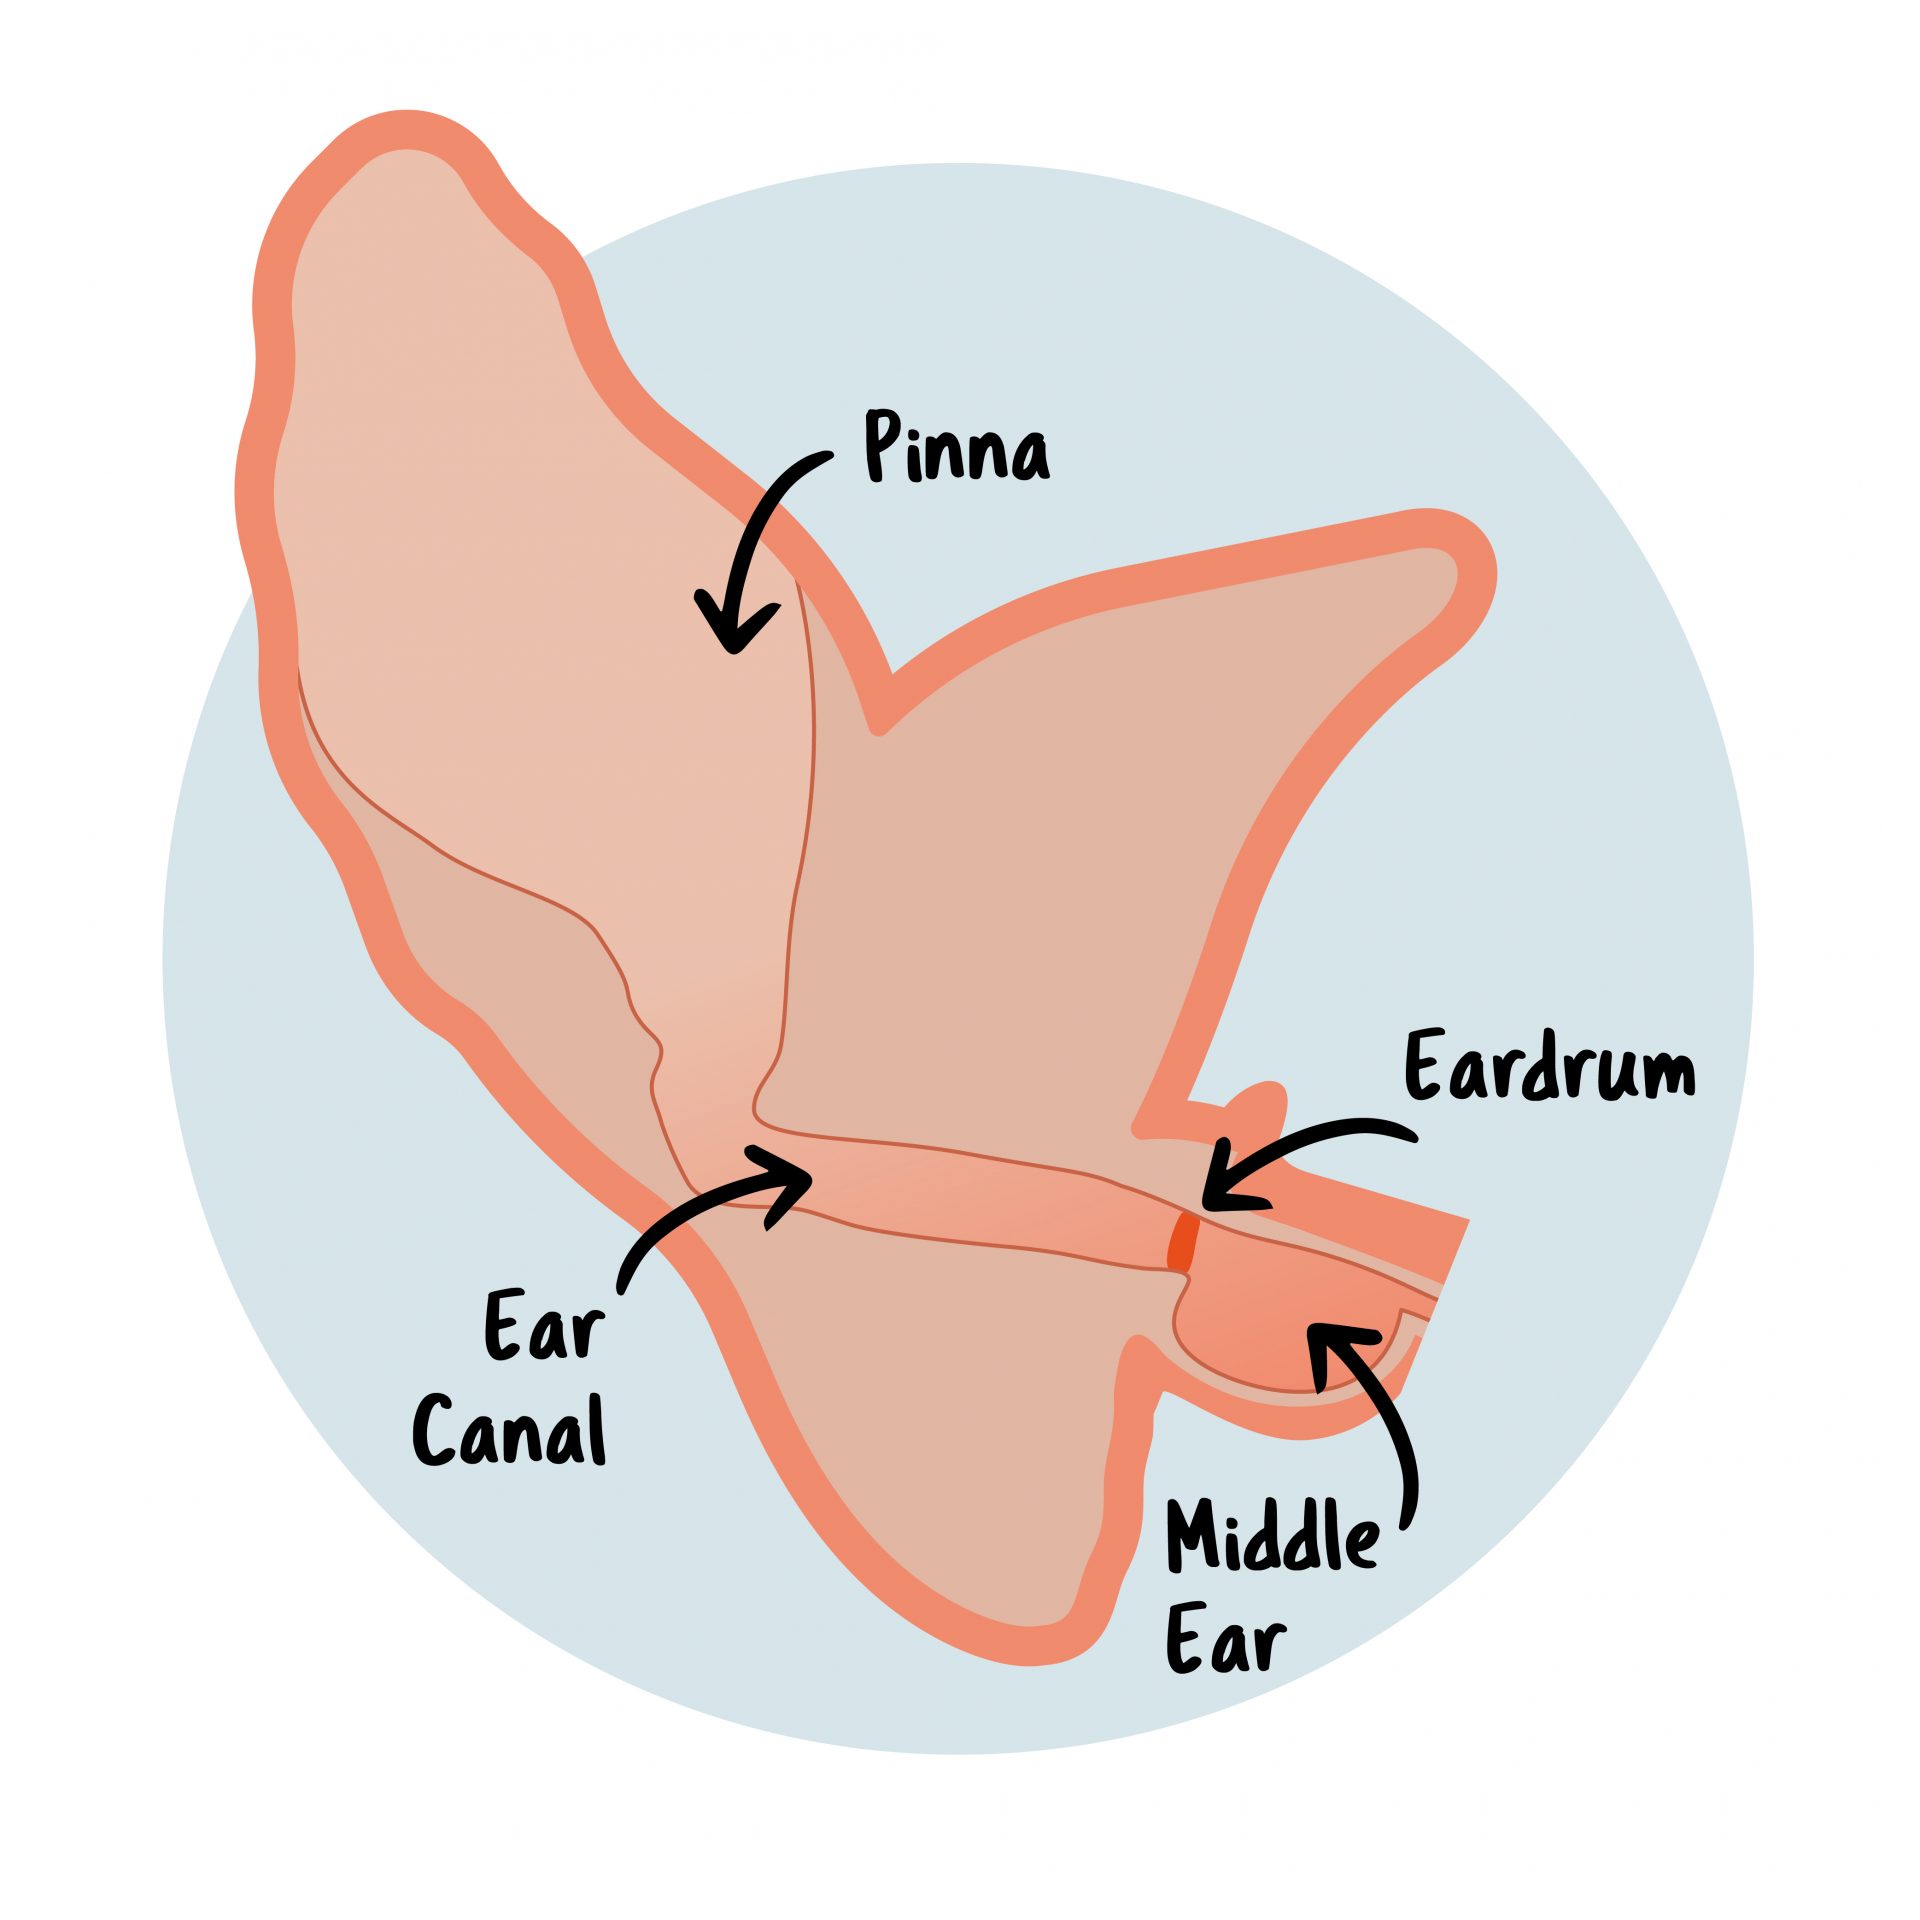
- Apply the cleaning solution to the cotton wool and gently clean around the opening of the ear canal and the pinna (the pointy bit of the ear!).
- Gently pressing the cotton wool will cause some of the cleaner to enter the ear canal, helping to bring out any debris. Use some dry cotton wool to wipe this away.
- Continue for as long as you think is necessary, or as long as your cat will allow, before moving on to the next ear. If your cat has an ear problem, you may need to schedule regular ear-cleaning sessions to help with treatment.
If you need further advice, book an appointment with your local Goddard vet practice, or get in touch with our Central Clinical Team at 020 8506 9944.